Running OpenVAS FREE on a VPS
Greenbone published images to run OpenVAS FREE on VMWare Workstation and VirtualBox. But what if we want it to run on a VPS?
- tags
- #Openvas #Vulnerabilities #Security #Vps
- categories
- Security
- published
- last updated
- reading time
- 3 minutes
OpenVAS is a open-core tool for scanning vulnerabilities, but it does have a history1 of being difficult to install and maintain. Since I didn’t wanted to have that burden, I looked at the free offering from Greenbone, but it does have two caveats that made it not work for me:
- It requires a 500GB disk
- It’s EFI only
And that’s a problem because?
Well, because I don’t have the use case for a dedicated server for OpenVAS and a VPS with 500GB disk costs 300€. Not in this economy.
So I thought, do they really need 500GB? Apparently not, the image has a VG with “only” 150GB. The extra space is probably for future expansion, but that’s a problem for future me.
So, let’s download a image, I went with the VMWare one, but the VirtualBox should work as well. The steps are easy, unpack the OVA, convert the vmdk to a qcow2 and migrate the contents to a new, smaller, disk.
Lets load the VMDK and create the new disk.
mkdir openvas
tar xf ../OPENVAS-FREE-25.0.5-VMware-Workstation.ova
qemu-img convert OPENVAS-FREE-25.0.5-VMware-Workstation-0.vmdk OPENVAS-FREE-25.0.5-VMware-Workstation-0.qcow2 -p -c -O qcow2
qemu-img create -f raw openvas.img 160G
sudo modprobe nbd max_part=4
sudo qemu-nbd --connect=/dev/nbd0 OPENVAS-FREE-25.0.5-VMware-Workstation-0.qcow2

# NB: You will need this if the vgroup VG doesn't show up
sudo lvmdevices --adddev /dev/nbd0p3
Now it’s important to replicate the first two partitions (or the second one if you need BIOS) (/boot/efi and /boot) on the new drive, so dd can work without issues.
EFI
parted openvas.img
mklabel gpt
mkpart "" fat16 1049kB 106MB
set 1 boot on
set 1 esp on
set 1 msftdata off
mkpart "" ext4 106MB 525MB
mkpart "" ext4 525MB 100%
exit
BIOS
parted openvas.img
mklabel gpt
mkpart "" fat16 1049kB 106MB
set 1 bios_grub on
mkpart "" ext4 106MB 525MB
mkpart "" ext4 525MB 100%
exit
Now, we mount the raw image, copy the boot partitions and migrate the VG
sudo losetup -Pf  openvas.img

# NB: You don't need this one if you are targetting a BIOS system
sudo dd if=/dev/nbd0p1 of=/dev/loop0p1 conv=fsync oflag=direct status=progress

sudo dd if=/dev/nbd0p2 of=/dev/loop0p2 conv=fsync oflag=direct status=progress

sudo pvcreate /dev/loop0p3
sudo vgextend vgroup /dev/loop0p3
sudo pvmove /dev/nbd0p3
sudo vgreduce vgroup /dev/nbd0p3
sudo qemu-nbd --disconnect /dev/nbd0
sudo rmmod nbd
If you are running the image on a EFI VM/VPS, you are done. Copy it to your hypervisor/VPS disk and boot. If you need it on a BIOS system, stick around for more fun.
To prepare the image for a BIOS system, we need to chroot into it, reinstall GRUB for BIOS and remove the efi partition from /etc/fstab
sudo mkdir /mnt/openvas
sudo mount /dev/vgroup/root /mnt/openvas
sudo mount /dev/vgroup/tmp /mnt/openvas/tmp
sudo mount /dev/vgroup/log /mnt/openvas/var/log
sudo mount /dev/loop0p2 /mnt/openvas/boot/
sudo mount -o ro /dev/vgroup/feed /mnt/openvas/opt/greenbone/feed
sudo mount -o ro /dev/vgroup/valuable /mnt/openvas/opt/greenbone/valuable
sudo mount -o ro /dev/vgroup/backups /mnt/openvas/opt/greenbone/backups
sudo mount -o ro /dev/vgroup/database /mnt/openvas/var/lib/postgresql
sudo mount --bind /dev /mnt/openvas/dev
sudo mount --bind /proc /mnt/openvas/proc
sudo mount --bind /sys /mnt/openvas/sys
sudo mount -o ro --bind /etc/resolv.conf /mnt/openvas/etc/resolv.conf
sudo chroot /mnt/openvas
That chroot will show you a scary message, just it Continue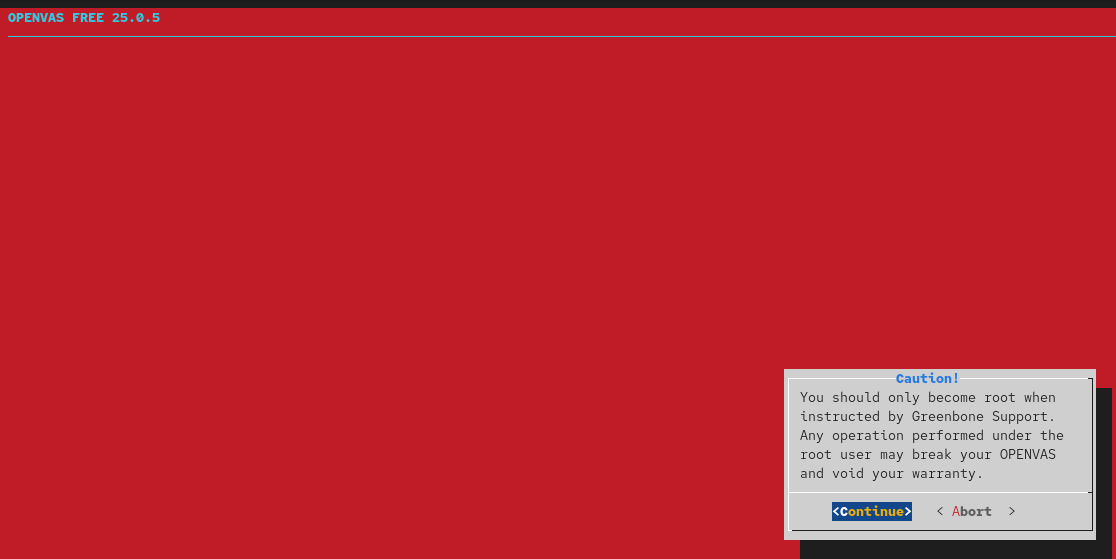
Now, Greenbone only includes their local repository, so we will replace it with the Debian one.
rm /etc/apt/sources.list.d/gos.sources
cat > /etc/apt/sources.list.d/debian.sources <<EOF
Types: deb
# http://snapshot.debian.org/archive/debian/20260803T000000Z
URIs: http://deb.debian.org/debian
Suites: trixie trixie-updates
Components: main
Signed-By: /usr/share/keyrings/debian-archive-keyring.pgp

Types: deb
# http://snapshot.debian.org/archive/debian-security/20260803T000000Z
URIs: http://deb.debian.org/debian-security
Suites: trixie-security
Components: main
Signed-By: /usr/share/keyrings/debian-archive-keyring.pgp
EOF

apt-get update
apt-get install grub-pc-bin
grub-install --target=i386-pc /dev/loop0
update-grub
sed -i -E 's|(^UUID=.* /boot/efi .*)||g' /etc/fstab
exit

sudo umount -R /mnt/openvas
sudo losetup -D

# If losetup -d doesn't remove /dev/loop0, run this command
sudo vgchange -an vgroup
And you are set.
There is a big drawback on using OpenVAS FREE instead of deploying OpenVAS CE, you will not get updates for OpenVAS. You may update the underlying Debian, but that can break OpenVAS.